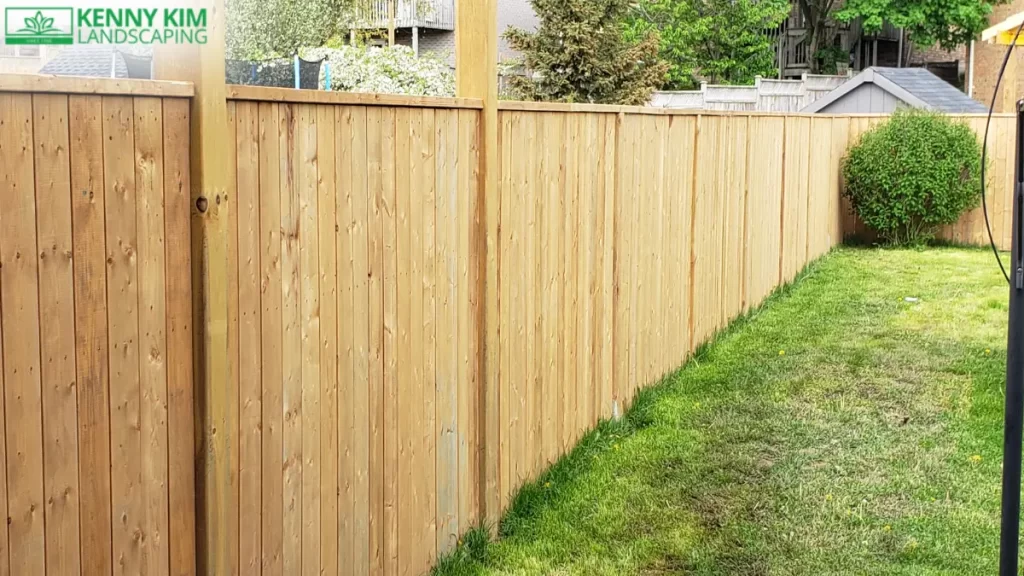
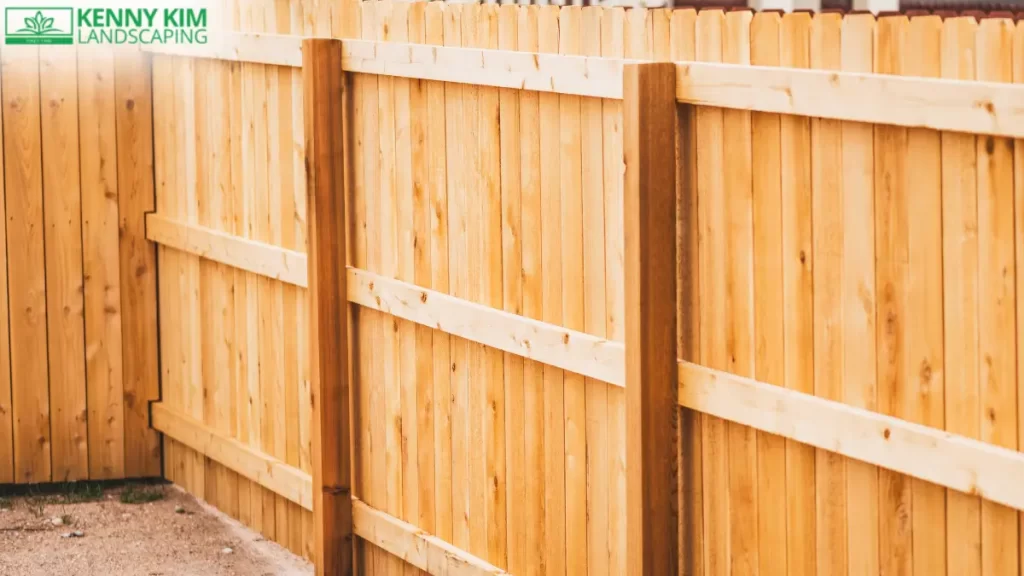
Building a wood fence around your property not only enhances its privacy and security but also adds a touch of natural beauty. Whether you’re a DIY enthusiast or a homeowner looking to save on installation costs, constructing a wood fence can be a rewarding project.
This comprehensive guide will walk you through the steps required to build a sturdy and attractive wood fence that meets your needs.
Understanding the Basics
Before diving into the construction process, it’s crucial to familiarize yourself with the essential components and considerations:
Components Needed
To start building your wood fence, gather the following tools and materials:
- Wood Fence Materials: Choose between cedar, pressure-treated wood, redwood, or composite boards depending on your preference and budget.
- Tools: Essential tools include a post hole digger, shovel, level, measuring tape, circular saw, hammer, and nails. Optional tools such as a power auger and pneumatic nail gun can expedite the process.
Planning Your Fence
Begin by planning the layout and design of your fence:
- Surveying Your Property: Identify property lines and obtain any necessary permits or approvals.
- Design Considerations: Decide on the fence height, style (such as privacy, picket, or board and batten), and gate placement to suit your property’s aesthetic and functional needs.
Steps to Build a Wood Fence
- Marking and Digging Post Holes: Use stakes and string to mark the fence line and dig post holes at regular intervals.
- Setting and Leveling Posts: Install and level the fence posts using concrete or gravel for stability.
- Attaching Rails and Panels: Secure horizontal rails between posts and attach the wood fence panels or boards using screws or nails.
- Installing Gates: Construct and install gates where necessary, ensuring they are sturdy and functional.
Choosing the Right Wood and Materials
Before starting the construction process, it’s essential to select the appropriate wood and materials based on your preferences and budget:
Types of Wood
- Cedar: Known for its natural beauty and durability, cedar is a popular choice for wood fences.
- Pressure-Treated Wood: Treated to resist rot and insects, pressure-treated wood is cost-effective and long-lasting.
- Redwood: With its rich color and resistance to decay, redwood offers a premium option for aesthetic appeal.
- Composite Boards: Combining wood fibers and recycled plastic, composite boards provide a low-maintenance alternative.
Additional Materials
- Fasteners: Choose galvanized or stainless steel screws and nails to prevent rust.
- Concrete or Gravel: Use for securing fence posts in the ground for stability.

Step-by-Step Construction Techniques
1. Building a Privacy Wood Fence
- Panel Installation: Attach privacy panels vertically using screws for a seamless look.
- Cap and Trim: Finish the top with a cap rail and add trim for a polished appearance.
2. Constructing a Picket Wood Fence
- Picket Placement: Install pickets evenly spaced between posts, ensuring a uniform height.
- Decorative Touches: Customize with decorative finials or scalloped tops for added charm.
3. DIY Board and Batten Fence
- Board Installation: Alternate wide boards with narrow battens for a rustic yet modern aesthetic.
- Staining or Painting: Apply a protective finish to enhance durability and appearance.
4. Split Rail Fence Construction
- Post and Rail Assembly: Place posts at regular intervals and insert rails horizontally for a classic look.
- Natural Appeal: Leave rails unfinished for a natural weathered appearance or apply a protective coating.
5. Building a Wood Garden Fence
- Low Profile Design: Create a low fence to define garden borders without obstructing views.
- Gate Integration: Incorporate gates for easy access while maintaining a cohesive garden design.
Advanced Techniques and Tips
- Fence on a Slope: Install stepped or racked panels to accommodate uneven terrain.
- Retaining Wall Fence: Integrate a fence with a retaining wall for functional and aesthetic benefits.
Conclusion
Building a wood fence is a rewarding DIY project that adds privacy, security, and aesthetic value to your property. By following the guidelines and techniques outlined in this comprehensive guide, you can create a durable and attractive fence tailored to your specific needs. At Kenny Kim Landscaping we provide Fence building service in North York, Toronto, Richmond Hill, Markham, Vaughan, and scarborough.
FAQs
What is the best wood for building a fence?
Cedar and pressure-treated wood are popular choices due to their durability and resistance to rot and insects.
How deep should fence posts be buried?
Fence posts should typically be buried at least one-third of their length, with concrete or gravel for stability.
Can I build a fence on a slope?
Yes, you can use stepped or racked panels to accommodate varying terrain levels.
How much does it cost to build a wood fence yourself?
Costs vary based on materials, size, and design. Budget-friendly options include DIY panel installation and pre-built fence panels.
Do I need a permit to build a wood fence?
Check local regulations; permits may be required, especially for fences over a certain height or near property lines.

